
Projecting a natural sound is the main goal when preparing to amplify a delicate instrument rich in harmonics. This guide covers equipment choices and microphone placement that preserve the character of the music while avoiding feedback.
The recommended mic and microphone types—contact pickups, dynamic, condenser and ribbon—respond differently. Understanding their strengths helps optimize sound quality and reliability in concert.
The basic signal chain is: pickup > preamp/mixer > EQ/effects > powered speaker or portable sound system. For recording, you can choose between a computer audio interface and a portable recorder according to the setting.
This short article sets out the basics and offers practical guidance on placement and equipment. It aims to make your settings more reliable and your concerts less stressful.
Why and when to amplify a handpan on stage
Knowing when to amplify an instrument with such a rich tone can transform the sound of a concert.
Musical intention: do you want to increase the impact in a large venue or preserve the intimacy of a small room? The need depends on the audience and the type of performance.
Context: playing solo or in an ensemble, room acoustics and noise levels directly affect the choice of pickup types and amplification strategy.
Differences between stage, studio and outdoor settings
On stage, favor solutions that limit feedback and let you control mic distance. A pair of small-diaphragm microphones 40–50 cm away and a pickup beneath the Gu note work well.
In the studio, condenser microphones offer high fidelity but need 48 V phantom power and a quiet room. Distances of 1–3 m capture depth.
Outdoors, a battery-powered portable system and windscreens make setup easier.
“Before playing with other instruments, check the monitors and keep 3 dB of headroom below the maximum.”
| Setting | Recommended type | Placement | Priority |
|---|---|---|---|
| Stage | Contact pickup + small-diaphragm microphones | 40–50 cm + pickup beneath the Gu note | Feedback prevention, bleed control |
| Studio | Condenser microphone | 1–3 m (stereo) | Fidelity, width |
| Outdoors | Pair of portable battery-powered microphones | 40–50 cm + windscreens | Wind protection, quick setup |
- If you want to record the handpan during a concert, ask the sound engineer for separate tracks.
- Adapt your setup to the time available to avoid delays at your first performance.
Goals and constraints before choosing a microphone
The right equipment balances budget, simplicity and sound quality. This principle guides every decision about pickups, sound reinforcement and audio interfaces.
First, define your goals: clear projection, clean recording or future flexibility. This guides your choice between a computer setup, a portable recorder and a standalone mixer.

- Overall budget: estimate the cost of the microphone, stands, cables, preamp and speakers instead of focusing on one item.
- Setup time: a quick setup reduces risks; a portable system speeds up the process.
- Environment: noisy venues favor contact pickups or dynamic microphones; studios favor condenser microphones (48 V).
- Feedback risk: contact pickups are less susceptible; otherwise, lower the sensitivity and aim the capsules away from the monitors.
- Dominant note: consider reinforcing the bass of the Gu note or placing an additional pickup according to your main notes.
- Transport: can I set up all the equipment alone, and how many minutes will it take?
- Interface: choose between a computer (flexibility, plugins) and a recorder (independence, speed) according to your needs and intended use.
Types of handpan microphones: benefits and limitations
Each pickup technology balances durability and detail differently.
Contact pickups: attached to the shell, they capture the metal’s vibrations and are unaffected by ambient noise. They rarely cause feedback, making them a reliable choice for noisy venues. Test several points on the upper and lower shells; some adhesive-mounted models can leave marks.
Dynamic microphones: durable and affordable, they handle high sound pressure levels and produce a drier sound. They need a close, stable position to capture the percussive attack effectively.
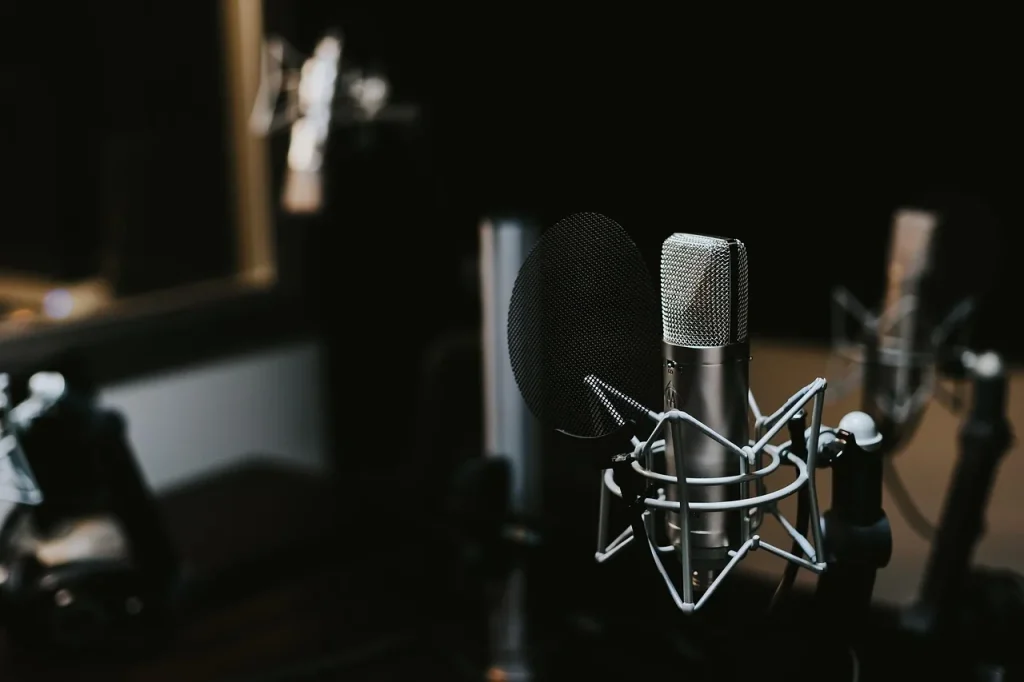
Condenser microphones: available with small or large diaphragms, these microphones are highly sensitive and reproduce harmonics precisely. They need 48 V phantom power and pick up room sound, so use them cautiously on stage.
Ribbon microphones: smooth and natural sounding, they are best suited to the studio. They are delicate and must be protected from drafts and impacts.
Combining complementary microphones
Pairing a contact pickup with a condenser or dynamic microphone lets you balance attack and body. Watch for phase problems: align the signals in time and check the mix before the concert.
| Type | Main benefit | Limitation | Recommended use |
|---|---|---|---|
| Contact pickup | Little feedback, clear percussion | Less room sound, possible adhesive marks | Noisy stages, portable performances |
| Dynamic microphone | Durable, good value | Limited frequency range | Close miking, varied concerts |
| Condenser microphone (small or large diaphragm) | High sensitivity and rich harmonics | Delicate, requires 48 V, captures room sound | Studio and detailed recording |
| Ribbon microphone | Smooth, natural tone | Very delicate, sensitive to high frequencies | Primarily studio use |
“Combining technologies often gives you the best of both worlds; take time to align the phases.”
To compare models and make a practical choice, consult a microphone comparison suited to your budget and setting.
Handpan microphones: how to amplify your sound on stage
Organizing the signal path from the pickup to the speaker helps prevent surprises.

Typical signal chain and settings
Recommended chain: microphone (contact, dynamic or condenser) > preamp/mixer > EQ/effects > powered speaker.
Favor short XLR cables, a dedicated power outlet and stable phantom power for the interface or mixer.
Gain and tests before the concert
Play your loudest passages and leave about 3 dB of headroom to avoid clipping. Listen through headphones and the front-of-house system.
Check for feedback and position the monitors outside the microphones’ pickup areas. Add a pickup beneath the Gu note if needed.
Mixing with other instruments
Filter low frequencies when a pickup takes over. Allocate frequency ranges so each source remains audible.
- Keep a backup option (a contact pickup) to ensure the performance can continue.
- If you set up a parallel recording on a computer, check the direct outputs of the audio interface.
- Ask yourself: can I quickly redo a soundcheck? Prepare presets.
| Component | Action | Priority |
|---|---|---|
| Preamp/mixer | Clean gain, gentle high-pass filter | High |
| EQ/effects | Reduced resonances, light reverb | Medium |
| Powered speaker | Simplifies setup and allows volume control | High |
For practical advice on recording a concert, see this detailed guide for more information.
Microphone placement and recommended distances
Precise capsule placement changes the clarity of your playing and the sense of space.

Stage
Two small condenser microphones placed 40–50 cm away on either side and aimed toward the center provide an open stereo image.
Add a dynamic microphone beneath the Gu note to reinforce the fundamental. Set a high-pass filter to avoid a muddy sound.
Studio / indoors
Place microphones 1–3 m away to capture depth and harmonics. A pair of pencil microphones arranged at 90° works well.
Keep both capsules the same distance from the center to limit phase problems.
Stereo balance and phase
Align the distances and check the phase of each source separately, then together with a contact pickup.
If you hear phase cancellation, reverse the polarity of one source or move it a few centimeters.
- On stage: a distance of 40–50 cm avoids sharp impact sounds and reduces feedback risk.
- Outdoors: use windscreens and stable stands.
- Make test recordings and compare them on headphones to choose the best stereo image.
| Setting | Capsule type | Distance | Goal |
|---|---|---|---|
| Stage | Small condenser microphones + dynamic microphone | 40–50 cm (stereo) + beneath the Gu note | Clarity, feedback prevention, stronger bass |
| Studio / indoors | Pair of pencil microphones (small diaphragm) | 1–3 m | Depth, harmonics, stereo image |
| Outdoors | Portable condenser microphones | 40–50 cm + windscreens | Stability, wind protection |
Useful speakers, equalizers and effects for handpan
Sound reinforcement and processing should support the music without overwhelming it.

Powered speaker or portable system
Powered speaker: built-in amplifier, less cabling and quick startup. Midrange models (Bose, JBL, Marshall) around €500 offer consistent quality.
Battery-powered portable system: ideal for outdoor and street performances. It gives you freedom and allows a quick setup without relying on a power outlet.
EQ and pedals: practical principles
Use restrained EQ: a high-pass filter to control the fundamental, a narrow cut for a resonance and a slight boost to the high-frequency “air.”
Use effects sparingly: short reverb and subtle delay can enrich the sound without masking the attacks. Avoid heavy processing in already reverberant rooms.
Example of a compact chain: contact pickup > reverb pedal > powered speaker; or pair of microphones > small mixer with built-in effects.
| Option | Benefit | Limitation | Recommended use |
|---|---|---|---|
| Powered speaker | Ready to use, dependable | Can be heavy | Small and medium venues |
| Battery-powered system | Independence, quick setup | Limited power | Outdoors, street performances |
| Mixer + effects | Flexibility and processing | Requires electrical power | Mixed performances, recordings |
- Practical tip: check that the mixer supplies 48 V phantom power if you use condenser microphones.
- Can I transport the equipment alone? Prepare a backup plan: a speaker with built-in EQ and effects.
Setting up your recording: with or without a computer
Your recording method should suit the venue, the time available and the sound you want. Choosing between a computer and a portable solution affects flexibility, setup and post-production.
With a computer: microphones, audio interface, flexibility and room to expand
Typical chain: instrument > microphone(s) > audio interface > computer. Interfaces range from the Behringer UMC204HD to the RME Babyface Pro or Universal Audio Twin.
Benefits: multitrack recording, plugins, a click track and editing. Choose an interface with 48 V phantom power if you use condenser microphones.
Without a computer: portable recorders with or without microphones
Recorders (Zoom H1n, H4n Pro, H6; Tascam DR-05, DR-100) let you capture ideas quickly and make videos.
For more inputs, favor models without built-in microphones (Zoom F4/F8, Sound Devices MixPre). They offer independence and simplicity, but less room to expand.
“Plan the recording, check the headphone output and keep peaks at -3 dBFS to avoid clipping.”
| Setup | Examples | Key benefit |
|---|---|---|
| With a computer | Scarlett 2i2, Audient iD44 | Flexible multitrack recording and plugins |
| Without a computer | Zoom H4n Pro, Tascam DR-44WL | Speed, battery-powered independence |
| Professional portable use | Zoom F8, MixPre | Multiple inputs, studio-quality recording on the move |
Example setups by budget
Investing gradually can yield clean recordings while keeping your setup versatile.
Small budget: aim for an affordable stereo pair and a reliable audio interface. Examples: Behringer C2, the t.bone EM700 or AT2020 with a Focusrite Scarlett 2i2 or UMC204HD. A mono setup can work in a pinch, but stereo shows off the instrument’s tone.
Medium budget: choose pairs of pencil microphones (Rode NT5, Oktava MK012) and a quality interface (Audient iD44, Clarett or RME Babyface Pro). This investment noticeably improves the quality of recordings and videos.
Large budget: choose professional models (Neumann KM184, AKG C414, Shure KSM137) and field recorders (Zoom F4/F8, Sound Devices MixPre). Combine a large-diaphragm microphone with small-diaphragm microphones to capture body and attack.
A common approach: start with a pair of NT5s and a Scarlett 2i2, then move to a Babyface Pro for more flexibility.
| Budget level | Equipment examples | Benefit | Recommended use |
|---|---|---|---|
| Small budget | Behringer C2, AT2020, Scarlett 2i2 | Cost effectiveness | Quick recordings, online videos |
| Medium budget | Rode NT5, Oktava MK012, Audient iD44 | Clarity and precision | Recordings and small venues |
| Large budget | Neumann KM184, AKG C414, Zoom F8 | Album-ready quality | Studio and field projects |
- Accessories: stable stands, shock mounts and windscreens can improve quality as much as the microphones.
- For a computer setup, consider the inputs and outputs, 48 V phantom power and driver stability.
- Finding the right equipment can also mean buying used; test it if possible.
Step-by-step procedure for a stress-free stage setup
A simple procedure helps you take the stage confidently with your sound under control.
Setup and soundcheck checklist
Arrive early: allow enough time for cabling, microphone placement and the soundcheck.
Review the checklist: power supply, XLR cables, stands, windscreens, interface or mixer, powered speakers and backup equipment.
- Place two small condenser microphones 40–50 cm away on either side; add a microphone beneath the Gu note if needed.
- Aim the capsules away from noisy sources and check that the distances are symmetrical.
- Set the gain while playing loud passages and stay about 3 dB below the maximum.
- Test the monitors by gradually raising the volume to detect any feedback.
- Make a short test recording, listen to it and adjust the EQ (high-pass filter, resonances).
- Prepare presets: plan A (contact pickup + stereo pair) and plan B (contact pickup only) to save time.
- Before going on stage: make one final check and rehearse the key actions once (muting, volume controls).
- Ask yourself: can I handle an unexpected problem alone? Have a simple ready-to-use option (contact pickup > speaker).
| Component | What to check | Priority |
|---|---|---|
| Power / 48 V | Stable, noise-free | High |
| XLR cables | Length, solder joints, spare cables | Medium |
| Capsule placement | 40–50 cm, symmetry, distance from noise sources | High |
| Test recording | Quick test, 3 dB of headroom | High |
“Play your loudest passages and keep a safety margin: it prevents clipping during the performance.”
Conclusion
Finally, focus on consistency: tested settings, backup options and a simple signal chain deliver repeatable results. This article provides all the information you need to choose according to your setting.
The right choice depends on the venue, audience and setup time. In concert, pickups that limit feedback and a pair of microphones 40–50 cm away work well; indoors or in the studio, place microphones 1–3 m away.
For effective recording, a portable recorder paired with a durable pickup is enough; with a computer, you can record multiple tracks and edit them. Test your setup, archive your takes and adapt your equipment as your compositions and videos develop.