
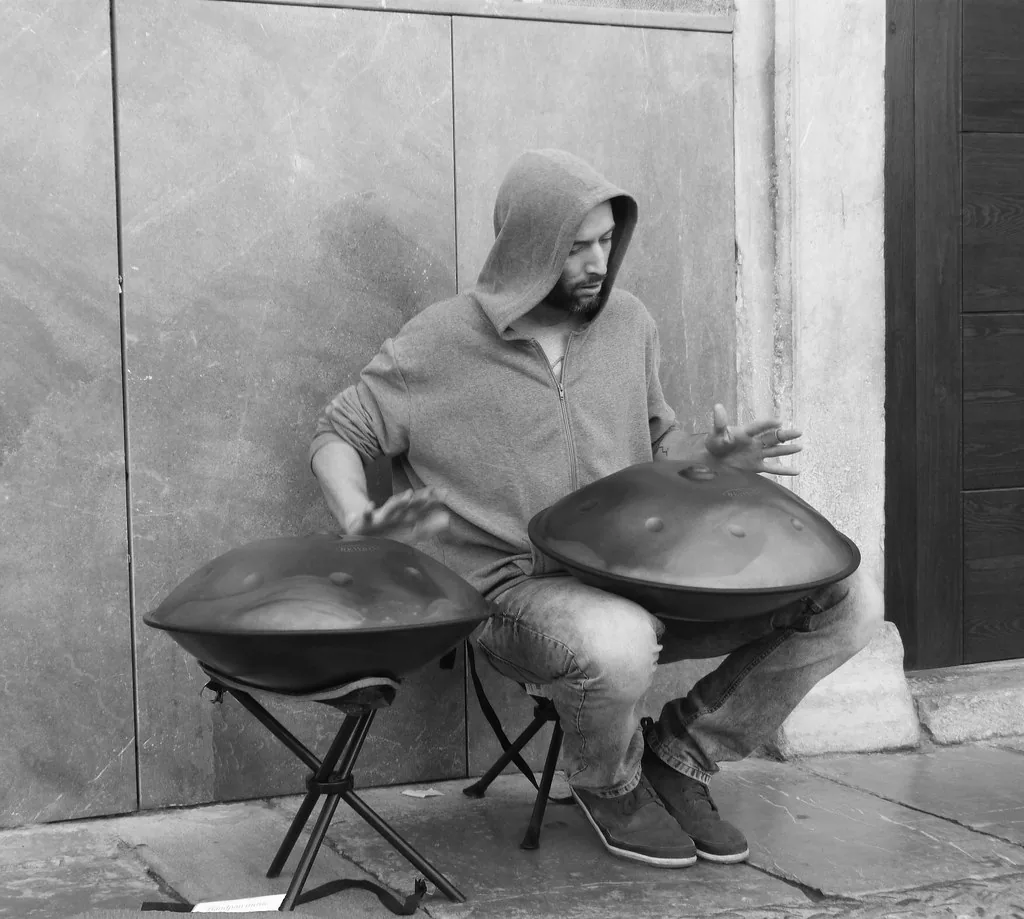
Goal: this short article guides you step by step toward reliable tuning on a concave metal instrument. You will learn which equipment to use, which process to follow, and how to protect the surface.
The handpan has a central ding and shaped tone fields that produce a fundamental and its harmonics. Its distinctive sound calls for precision and a methodical approach to maintain consistent sound quality.
The general process involves diagnosis, preparation, work on each tone field, then final checks and stabilization. The center is hammered to raise the pitch and the edges to lower it, before the harmonics are adjusted.
This work takes time, attention, and measured movements. The rest of the article explains the instrument’s structure, recommended equipment, practical techniques, and when to seek professional help.
Understand the handpan before tuning it
Before making any adjustments, it is essential to understand how the instrument’s construction affects its sound.
Instrument structure: a steel shell forms a dome containing a central ding and several tone fields arranged in a circle. Each field is shaped to produce a note with a fundamental and harmonics. The central ding gives the instrument its characteristic sound.
Scales and harmonic frequencies
Scales are often diatonic or pentatonic. Each note works as a small system: its main pitch must align with its partials to fit into the music as a whole.
Why the instrument goes out of tune over time
The metal is thin (1 to 1.2 mm). Even a slight deformation changes its tension and frequency. Regular use, overly forceful strikes, mallets, or a fall can cause notes to drift.
Temperature also matters: prolonged exposure to sunlight makes the metal expand and then contract, and its shape may not return exactly to its original state. Retuning may be needed every 2 to 5 years, depending on quality, shape, use, and storage.
| Component | Role | Effect on tuning |
|---|---|---|
| Steel shell | Support and overall resonance | Deformation at the edges disrupts harmonic balance |
| Central ding | Characteristic fundamental | A change alters the sound’s character |
| Tone fields | Production of notes | Misaligned harmonics create dissonance |
| Temperature | Expansion and contraction of the metal | An effect that is hard to see but changes frequency |
For more on maintenance and the next steps, consult a suitable tuning guide.
Diagnose tuning problems accurately
A methodical examination shows whether a note is slightly off pitch or has genuinely drifted. Start by listening carefully, then confirm what you hear with an electronic device or mobile app.

Listening by ear or using a chromatic tuner
A trained ear quickly detects beating, instability, and problem areas.
For greater accuracy, use an electronic tuner set to the instrument’s reference pitch. Compare its reading with what you hear and record each discrepancy.
440 Hz or 432 Hz: tolerances and reading the spectrum
Tuners are often set to 440 Hz. If your instrument is tuned to 432 Hz, change the reference before taking any measurements.
- Play each note with a light, even strike.
- Record the frequency shown by the device to document any differences.
- Use an app such as Spectroid to view the fundamental and harmonics.
“The ISO 16:1975 standard suggests a maximum deviation of 0.5 Hz, but in practice, differences of a few hertz remain common.”
Take care: smartphone microphones limit accuracy. In some cases, a dedicated tuner is more reliable.
Recommended procedure: make a table of the notes that are out of tune, the direction of each deviation (too high or too low), and any anomalies, such as a double peak or instability. For a step-by-step guide to a similar instrument, consult this tutorial.
Essential tuning tools and good practices
A suitable workspace and the right equipment make a considerable difference when making careful adjustments.
Essentials: a reliable digital tuner, plastic- or rubber-headed mallets, a tuning stick to stabilize the note, and a tuning fork to establish the reference pitch.
Protection and precision in the workshop
Wear gloves to avoid leaving marks on the surface and hearing protection during long sessions.
A stable workbench limits movement and protects the edges. Working on a firm support makes each strike more precise.
Measuring accessories
A protractor helps you check the shape and angle of the tone fields. Repeating the same angle across several notes helps preserve harmonic consistency.
Working conditions and recommended technique
Work at a moderate temperature: metal responds to heat and cold. A room with a stable temperature reduces variation during checks.
Strike gently and make small adjustments. Check the result with the tuner as you go to maintain precision and quality.
“Relieving internal stresses before making adjustments improves the long-term stability of the notes.”
Handpan tuner: tools and tuning methods
Setting up the instrument correctly, with good lighting and a stable support, makes each adjustment easier. A level base, a clean space, and a digital tuner ready to use help ensure reliable measurements.

Prepare the instrument and workspace
Clean the surface lightly so particles do not affect your measurements. Put the instrument on a stable support and keep your tools within reach.
Measure the pitch of each note and its harmonics
Use the tuner to record the frequency of each note and its partials. Write down any deviations before making adjustments.
Hammer the center and edges, then refine the tuning
Raise a note by hammering the center of the field; lower it by striking the outer edges. Use small, precise strikes to preserve the metal’s shape. When the pitch is close to the desired value, refine the harmonics with a soft mallet.
Stabilize and check the tuning
Relieve internal stresses if necessary to improve stability. Recheck every note with the tuner after each round of adjustments.
“Working in small steps prevents overcorrection and protects the steel.”
- To finish: let the instrument rest, play each note again, and measure it once more when it has cooled to confirm that the tuning is stable.
Tune it yourself or consult a professional
If your instrument is significantly out of tune, stopping playing is often the first precaution. Do not force the tone fields: continuing to play may worsen deformation and make future repairs more difficult.

Limits of DIY repairs and why changing the scale is impractical
Restoration requires months of learning and precise technique. Without experience, attempting it can reduce sound quality.
Changing the scale is unrealistic: the shell’s structure makes it technically and economically impractical. Buying a new instrument is often less expensive.
Quotes, costs, and turnaround times
A quote is often based on a recording in which every note is played. This helps the technician estimate the work and time required.
- Indicative price: between €100 and €300, depending on the extent of the work and the number of notes involved.
- Turnaround: from a few days to several weeks. Some repairs take longer if the shell must be separated and glued back together.
“Entrusting your instrument to an experienced professional reduces risk and helps its tuning remain stable for longer.”
To find a reputable provider, check their experience and reviews, then ask for an assessment before and after the work. You can also compare the options discussed in this discussion of specialist services.
Conclusion
This article shows that good tuning comes from a patient, precise, and consistent process. Take the time to diagnose the problem, make adjustments, and carry out a final check.
Each note should be in tune and stable. Its harmonics should align so that the instrument sounds musical as a whole.
Work at a controlled temperature on a sturdy bench, and protect the steel surface. A reliable tuner and suitable mallets improve the quality of the result.
Proceed in small steps: adjust, check several times, then let the instrument rest. If you are unsure, or if the instrument has suffered an impact, consider consulting a professional. Maintain your instrument regularly to extend its life.