
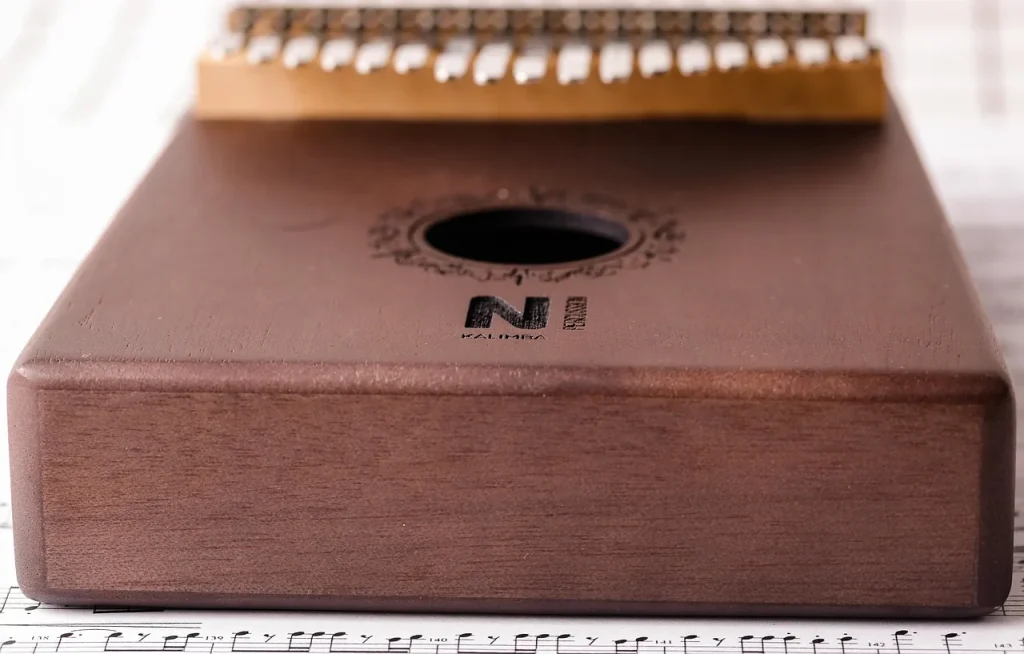
The kalimba is a musical instrument with African roots, also known as the thumb piano. The 17-key model is especially popular in France. Tuned to C major, it has a range from F2 to E5, making it accessible to beginners.
This model is ideal for anyone who wants to explore music. Its comfortable design helps beginners become familiar with the notes and tines. This guide introduces basic techniques, reading music, and ways to make steady progress.
Starting well is essential to getting the most from this instrument. Follow the steps below to build the skills you need to play with confidence. Ready to begin your musical journey?
Origins and features of the 17-key kalimba
This musical instrument has deep roots in African history. It has existed for more than 3,000 years and is also known as the sanza or mbira. Its rich cultural heritage gives it a distinctive place in the world of music.
In the 20th century, makers and researchers, notably Hugh Tracey, modernized the instrument. His work helped bring the kalimba to a global audience. A standard model has a wooden or metal body, metal tines mounted on a bridge, and sound holes that improve sound projection.
The central tine, often marked with the letter C and the number 1, represents C in the third octave. From the center, the tines alternate left and right in a zigzag pattern. This layout makes it easier to create melodic patterns.
The instrument’s range extends from F2 to E5, making it versatile. Each tine produces a distinct frequency: the shorter its vibrating section, the higher the note. This lets players explore a wide variety of sounds.
Here is a summary of the instrument’s main features:
| Feature | Details |
|---|---|
| Origin | Africa, more than 3,000 years ago |
| Materials | Wood or metal |
| Tine layout | Alternating left and right |
| Range | F2 to E5 |
| Tuning | C major |
The instrument’s growing popularity in France and elsewhere comes from its soothing sound and ease of learning. Understanding its features will help you before you begin learning how to play.
Getting ready to play: stickers and tuning
Before learning to play, take time to prepare your instrument. This includes placing stickers and tuning the tines. These steps help prevent mistakes and give you a better start.
Why stickers help beginners
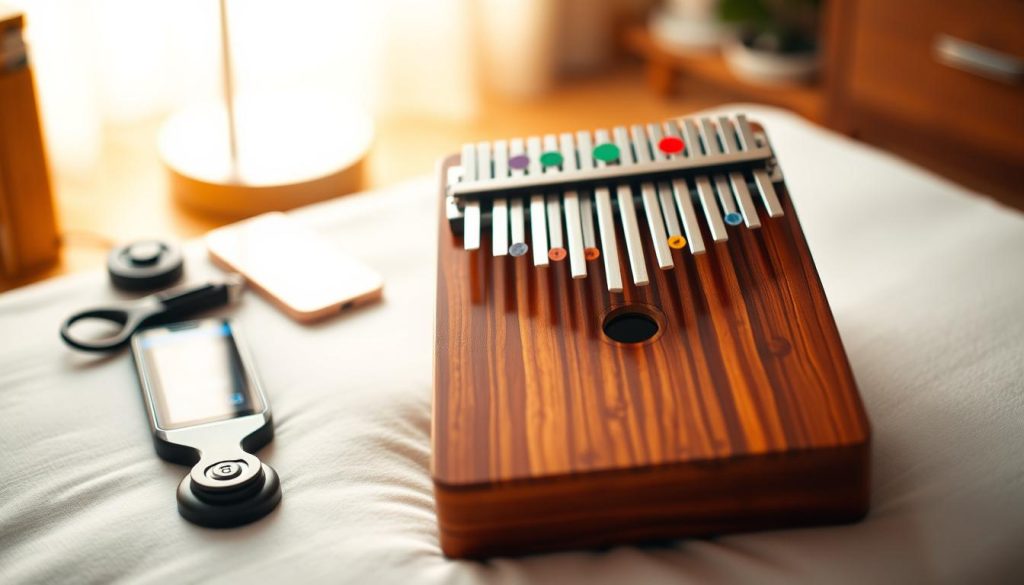
Stickers give beginners visual guides that make notes easier to identify on the tines. Most instruments come with a sheet of colored stickers or stickers marked with letters and numbers.
These are the main types of stickers:
- Colored stickers for quick identification.
- Stickers marked with letters (C, D, E) for the notes.
- Stickers marked with numbers (1, 2, 3) for a simpler approach.
Some models have engraved tines, so stickers are unnecessary for certain notes. This lets players focus more on playing.
A simple way to tune your kalimba
Tuning is essential to playing accurately. You can use a tuning app such as Smart Kalimba or gStrings. Follow these steps:
- Play the central tine (C).
- Check the note on the tuner.
- If the note is too sharp (♯), tap the tine downward with the tuning hammer.
- If the note is too flat (♭), tap the tine upward.
The letters correspond to these notes: C = do, D = re, E = mi, F = fa, G = sol, A = la, B = ti. Even if the instrument was tuned at the factory, its tines may shift during shipping. Check its tuning regularly.
Here are some practical tips for accurate tuning:
- Work in a quiet place.
- Use small taps with the hammer.
- Check that the tuning remains stable after a few minutes.
Tuning your instrument is an essential step before you play. It will help you enjoy its sound to the fullest.
| Item | Details |
|---|---|
| Stickers | Colored or marked with letters or numbers |
| Tuning apps | Smart Kalimba, gStrings, Pitched Tuner |
| Note equivalents | C = do, D = re, E = mi, F = fa, G = sol, A = la, B = ti |
| Tuning tips | Quiet place, small hammer taps, stability check |
How to hold and position the kalimba
Holding the instrument correctly helps you play comfortably and accurately. Hold it between both hands with the tines pointing upward. Place your thumbs on the front, ready to pluck the tines, while your other fingers support the back.
Alternatively, place the kalimba on a flat surface. Keep your thumbs on top and put your other fingers along the sides. This position gives you more freedom of movement.
Avoid covering the two holes on the back of the instrument. They help produce a clear, rich sound. Likewise, leave the central opening on the front uncovered so the sound can project well.
Here are some tips for a comfortable grip:
- Hold the instrument between your palms with the tines visible and pointing upward.
- Place your thumbs on the front and support the back with your other fingers.
- Keep both thumbs free to alternate between the left and right tines.
- Adjust your grip to suit the instrument: a wooden resonator box or a flat model without one.
- To avoid fatigue, choose a comfortable position and consider silicone thumb guards.
Practice holding the instrument before playing your first notes. This will help you get used to the position and feel more comfortable. Remember that a good grip helps you progress.
To learn more, read our article about the kalimba, which offers more advice for beginners.
Basic kalimba playing techniques
Mastering basic techniques will help you progress. You will learn to play individual notes and simple chords while avoiding sore thumbs. Let’s begin with a single note.
Playing an individual note
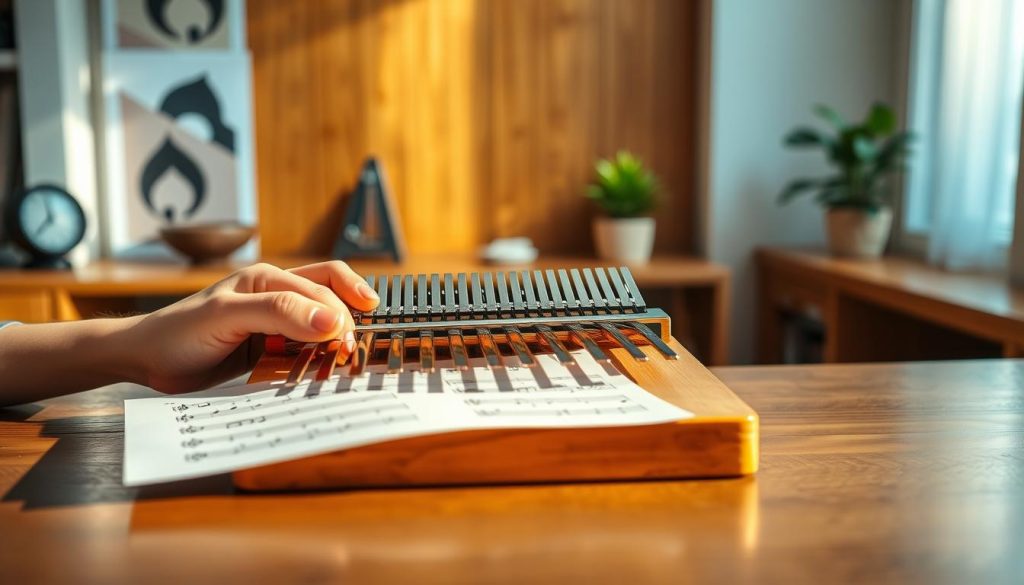
To play a note, press a steel tine with the tip of your thumbnail. Push it gently toward the instrument, then release it quickly. The tine vibrates and produces a clear sound.
If your nails are short, you can play with the pads of your thumbs. However, this is less precise and less effective. Using your nails will give you greater control.
Playing simple chords
To play a chord, pluck two tines at the same time. Use one thumb if they are adjacent, or both thumbs if they are farther apart. You can also pluck three or even four tines for a fuller sound.
Avoiding sore thumbs and playing without nails
Many beginners experience thumb pain after long sessions. Here are some options:
- Let your nails grow to make playing easier.
- Try silicone thumb guards.
- Give your thumbs time to adapt through regular practice.
Practice these techniques regularly. Starting at the center of the instrument, alternate notes between your left and right thumbs. This will help you memorize where the notes are and improve your playing.
Practicing these basic techniques will develop your dexterity and musical expression on the kalimba.
| Technique | Description |
|---|---|
| Playing a note | Press with a thumbnail, push, and release the tine. |
| Simple chords | Pluck two adjacent tines with one thumb. |
| Wider chords | Use both thumbs to play tines that are farther apart. |
| Preventing pain | Use thumb guards or play with longer nails. |
Reading kalimba sheet music and tablature
Learning to read sheet music and tablature will help you play a wider range of pieces. Each notation system has features that suit different stages of learning.
The difference between sheet music and tablature
Sheet music resembles conventional musical notation. It uses five-line staves that hold the notes. Each note is accompanied by a number identifying the tine to play. Tablature is more visual: it is read from bottom to top and shows which notes to play on the tines.
Tablature is also read from left to right, making pieces easier to follow. The dots on the tines show exactly where to play. Beginners often find this method more intuitive.
Decoding symbols and notes
To understand the symbols and numbers in a score, learn how numbers 1 through 7 correspond to musical notes. Here are some useful guides:
- The letters C, D, E, F, G, A, and B correspond to do, re, mi, fa, sol, la, and ti, respectively.
- Octaves are indicated by symbols: no symbol = octave 3; one dot or apostrophe above = octave 4; two marks above = octave 5; a symbol below = octave 2.
- A zero indicates a rest: no note is played.
When learning a new tablature, divide the piece into sections. Listening to the original song will also help you understand its rhythm and tempo.
Here is a summary of the key elements:
| Element | Details |
|---|---|
| Sheet music | Uses staves with notes and numbers |
| Tablature | Shows the tines to play graphically |
| Note equivalents | C = do, D = re, E = mi, F = fa, G = sol, A = la, B = ti |
| Octave markers | No symbol = octave 3; one dot = octave 4; two marks = octave 5 |
| Rest | Indicated by a zero |
Reading both sheet music and tablature can strengthen your musical memory. It will help you understand the music and make progress. To find free tablature suited to your instrument, explore online resources such as this site.
Advanced techniques to enrich your playing
Advanced techniques can make your melodies more expressive and help you discover new sounds.
Glissando
A glissando involves sliding a thumb across several adjacent tines to play multiple notes quickly. Place your thumb on a tine, press it, then slide toward the next tine while maintaining pressure.
Outward glissandos are generally easier to master. Inward ones take more practice. Playing three adjacent tines can create a triad; four can form a seventh chord, and five a ninth chord.
Sound effects: vibrato and wah-wah
Sound effects add variety to your playing. To create wah-wah, cover and uncover the front sound hole with your thumb. This changes the sound. To create vibrato, cover and uncover the two rear holes with your ring fingers, producing an expressive modulation.
These effects require a kalimba with a wooden resonator box. Also, the wah-wah effect has a strong impact on only three or four notes near the center of the instrument.
Start slowly as you add these techniques to your playing. Practice glissandos across three, four, or five adjacent tines. Over time, you will develop your own expressive style.
| Technique | Description |
|---|---|
| Glissando | Slide a thumb across several tines to play notes quickly. |
| Vibrato | Cover and uncover the rear holes to modulate the sound. |
| Wah-wah | Move a thumb over the central opening to change the sound. |
| Glissando exercises | Practice across three, four, or five adjacent tines. |

How to improve quickly at the kalimba
Regular, focused practice makes a great difference. Many players reach a satisfying level within a few weeks or months, depending on the time and effort they invest.
Practice regularly to make learning easier. A few minutes each day are more useful than occasional long sessions. Try these tips:
- Divide pieces into short sections of two to four measures.
- Use a metronome to improve your timing and accuracy. Start slowly, then increase the tempo.
- Record yourself on your smartphone to review your playing and find areas to improve.
- Alternate between sheet music and tablature to develop your ear and visual memory.
- Learn familiar songs you enjoy to stay motivated.
- Remember that patience and persistence are essential when learning this instrument.
- Vary your learning methods with video tutorials, tablature books, and mobile apps.
Practice is essential. Once you have learned a piece, you can enjoy its beautiful melody.

Using thumb and nail guards
Long playing sessions can sometimes leave your thumbs sore. This is common among musicians who play the instrument regularly. Several approaches can help.
Some musicians play with their nails and let them grow for greater precision. Others prefer plastic thumb guards. These accessories protect the pads of the thumbs and make playing more comfortable.
Pain may also lessen as your thumbs adapt to regular practice. However, playing without nails can hurt. If it does, consider using guards.
The Instruments du Monde store offers guards designed for thumbs. These silicone accessories can help prevent pain and improve comfort while playing.
Consider these points when choosing an approach:
- Playing with natural nails may give you greater precision.
- Silicone guards can be more comfortable during long sessions.
- With time, your thumbs may become stronger and adapt to playing.
- Caring for your fingers will help you play comfortably.
Find the approach that works best for you. Most players eventually find a balance between comfort and precision.
Choosing a 17-key kalimba for beginners in France
Choosing a suitable instrument is an important first step. The 17-key kalimba is the most common choice because it balances a compact size with a broad musical range. The two main types are wooden resonator-box kalimbas and flat models.
Wooden resonator-box kalimbas produce a fuller sound and allow effects through their sound holes. Flat models are smaller and easier to carry, but they do not produce the same effects.
Here are some popular models available in France:
- Transparent 17-Key Kalimba at €54.90, ideal for anyone who wants a modern design.
- Relaxation 17-Key Kalimba at €44.90, suited to calm, meditative playing.
- Black 17-Key Kalimba at €34.90, an affordable option for beginners.
- DIY 17-Key Kalimba at €29.90, for people who enjoy making and customizing their instruments.
Consider your budget and the look you prefer. Also check whether the instrument comes with a protective case, tuning hammer, note stickers, and instruction booklet.
Models with engraved tines make notes and keys easier to identify when you begin. Taking time to choose the right instrument gives your playing a strong foundation.
Additional resources and useful tutorials
Many resources can support your learning, help you improve, and broaden the music you play.
YouTube channels such as Tuto Kalimba can be useful. They offer free tablature for popular pieces including Harry Potter, Hallelujah, and Game of Thrones. These videos offer a visual, interactive way to learn.
Books of tablature costing less than eight euros are also available. They introduce a wide variety of pieces, help structure your learning, and let you play songs you enjoy.
Several mobile apps can help with tuning. Smart Kalimba, gStrings, and Pitched Tuner are practical tools for keeping your instrument in tune so you can focus on playing.
Online communities, including dedicated Facebook groups, are another resource. Players share sheet music and tablature there, creating opportunities to learn from one another.
Here is a summary of useful resources:
| Resource type | Details |
|---|---|
| YouTube channels | Tuto Kalimba: free tablature for popular songs |
| Tablature books | Less than eight euros, with a wide range of pieces |
| Tuning apps | Smart Kalimba, gStrings, Pitched Tuner |
| Online communities | Facebook groups for sharing sheet music and tablature |
| Specialist sites | Free resources suited to beginners |
Vary your learning methods. Use video tutorials to build your skills, and slow playback when learning difficult passages. This will help you understand the rhythm and master each note.
Exploring new resources regularly will expand your repertoire and improve your technique. You can also read French-language sites and blogs for advice suited to your level.
Conclusion
Learning to play this instrument can seem daunting, but a good approach makes it manageable. Remember these essentials:
- Instrument preparation: tune the tines regularly and add markers to make playing easier.
- Basic techniques: position your hands well and learn to play individual notes and chords.
- Reading sheet music and tablature: this broadens your repertoire and strengthens your understanding of music.
- Advanced techniques: explore glissando, vibrato, and wah-wah to enrich your pieces.
- Regular practice: use a metronome and record yourself to improve steadily.
- Choosing a model: select an instrument that suits you and use the available learning resources.
With patience and a suitable approach, you can learn to play this instrument and enjoy its soothing sound. Begin your musical journey today!